Hey! and happy Tuesday :) Have i told you lately that i LOVE Tuesday?? Tuesday is
our day. Derek and i spent last week in beautiful Punta Cana....But, boy was i missing my sweet girls! No worries, the girls and i made up for time lost today :).
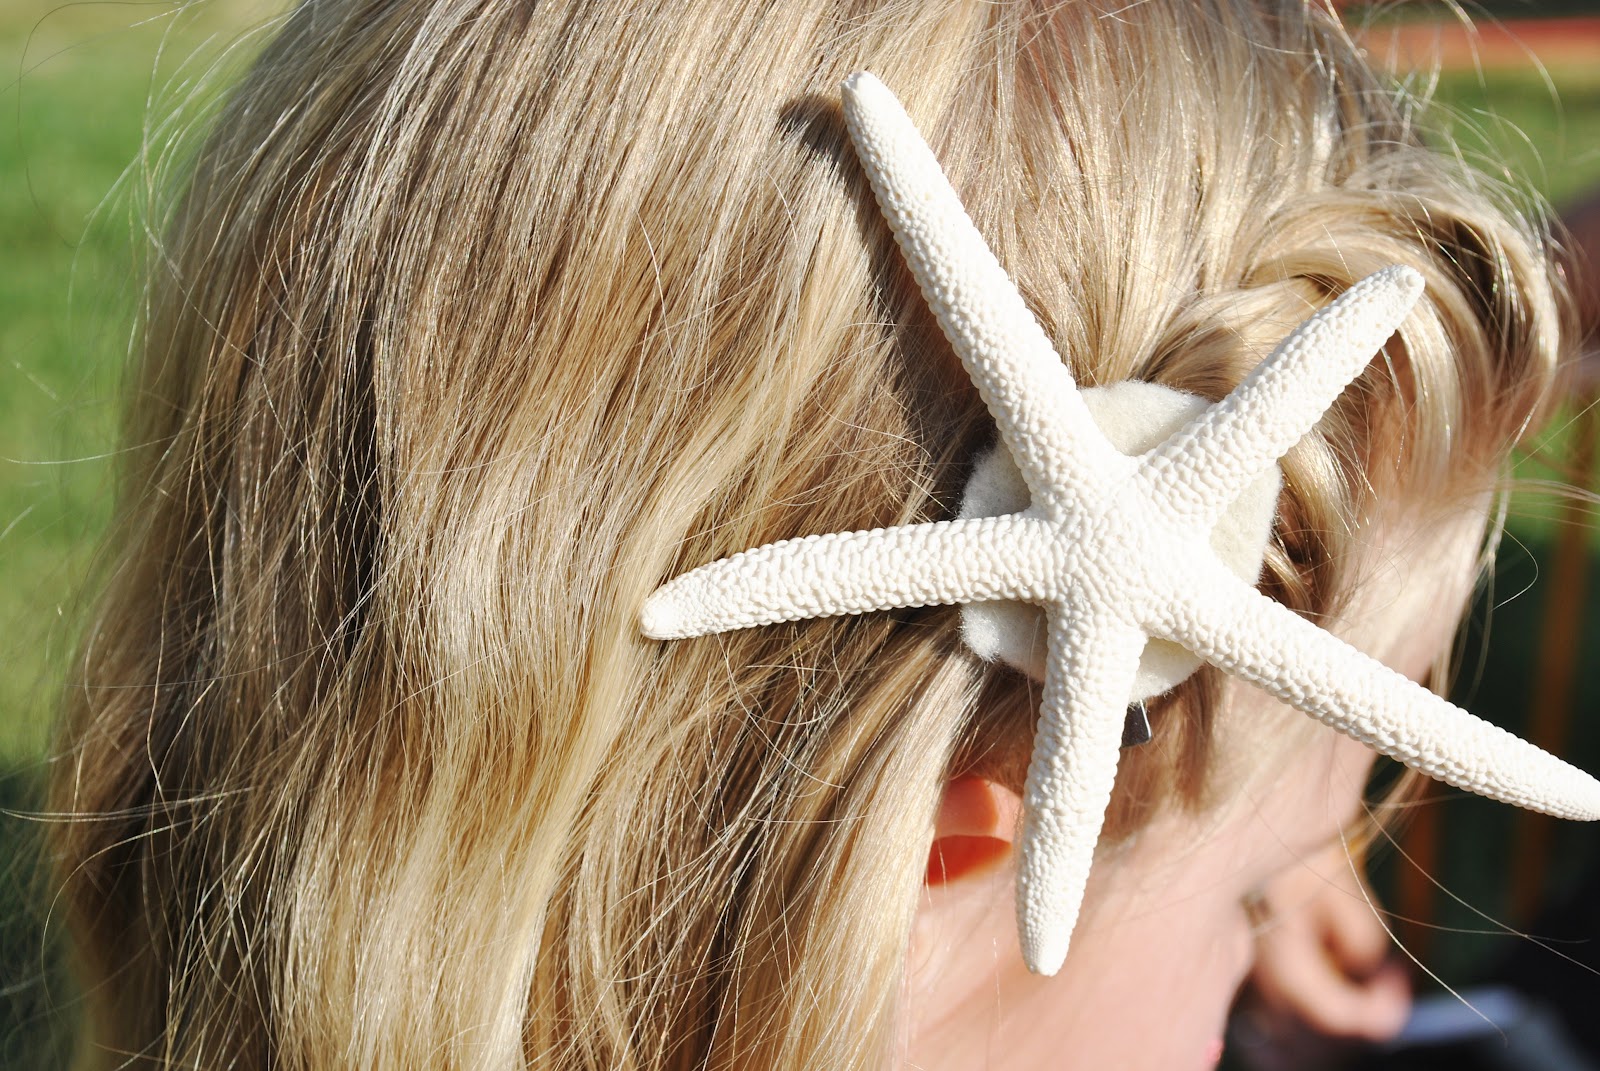
How gorgeous is this? Gah.....so much fun was had!
As promised, I'll leave you with a tutorial that i found on the
beloved pinterest website. My version of the tutorial is a little different as i don't have a lot of time (
I'm completely impatient and can't stand to watch "paint dry") to wait between steps. here goes!
1. Buy a canvas in the size you would like for your print to be and visit
shutterfly or website of your choosing to enlarge your print. (i always use shutterfly! great deals and tons of online promo codes!)
This is an 11x14 canvas i bought in a two pack at Michael's. i think i paid 5.99 (they were 50% off:) also, if you download the "app" for Michael's they can scan coupons right from your phone! What did we do before iPhones?!
2. Once you receive your photo, cut it to fit your canvas. (I cut mine slightly smaller to expose some of the canvas edge on all sides. This helps it look more like a "professional" canvas print once you paint the edges.)
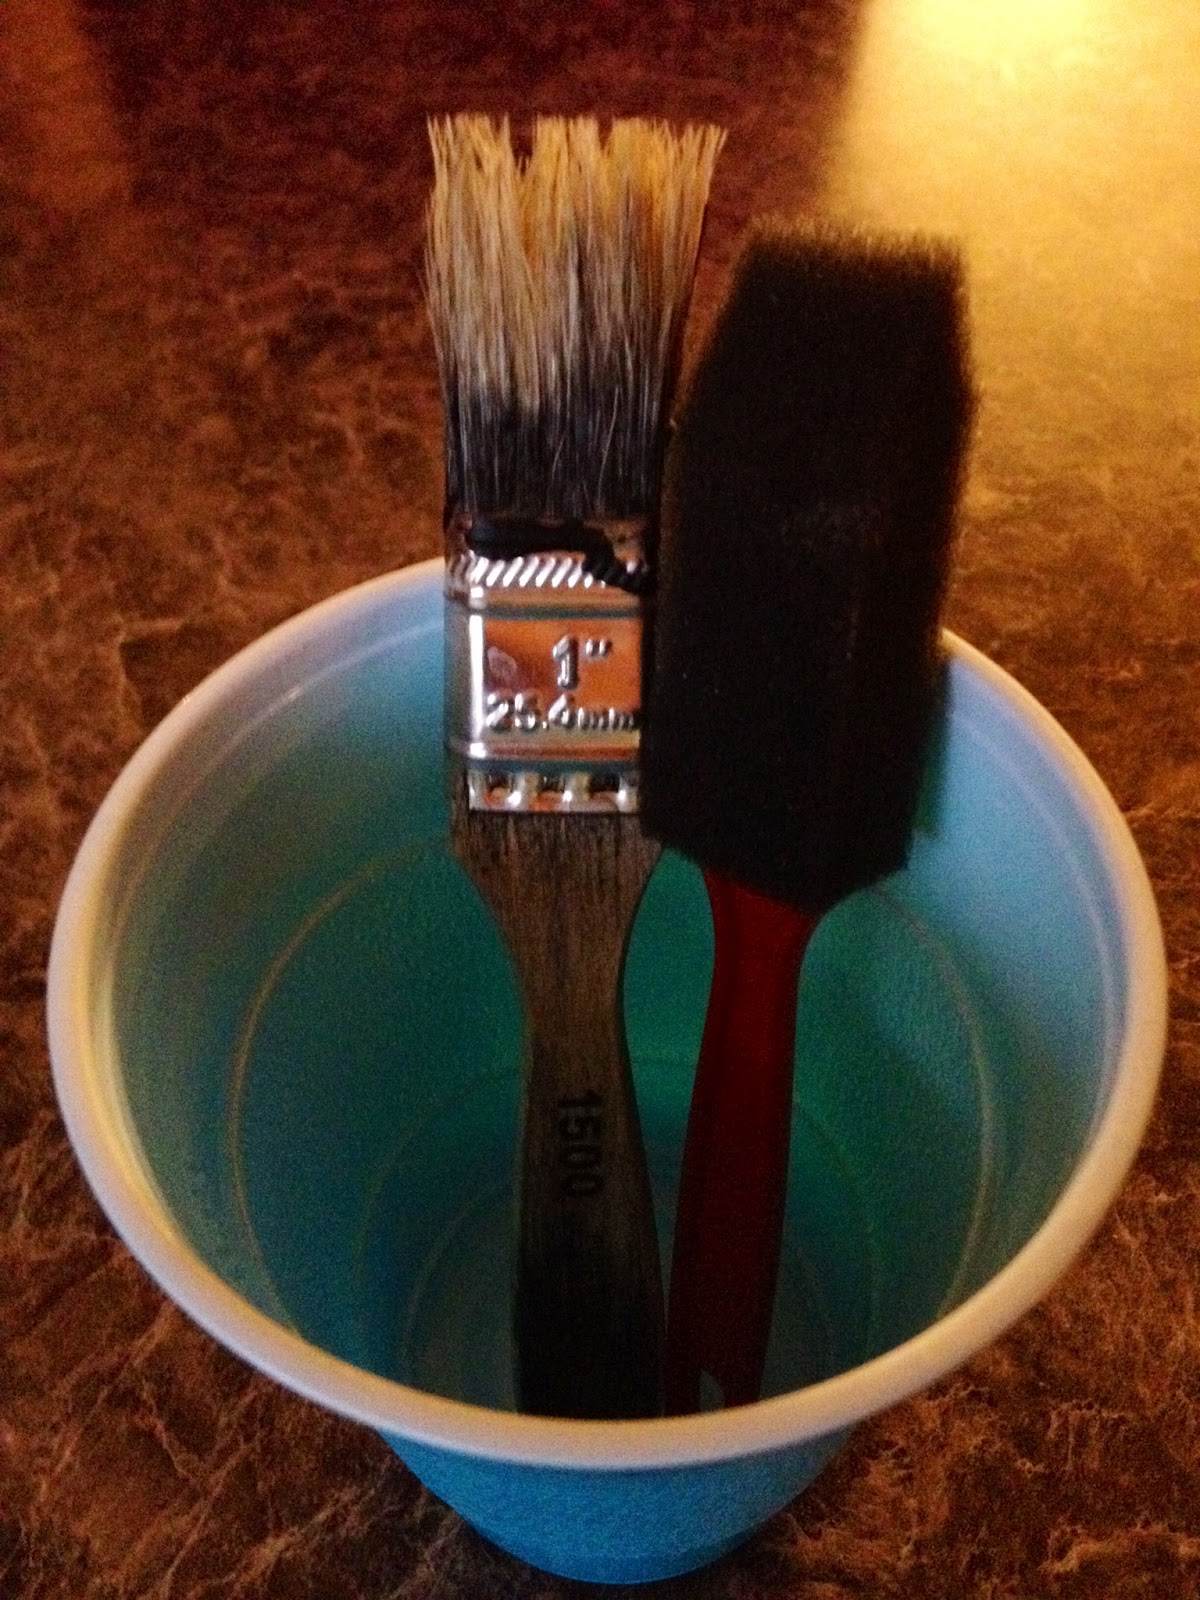
3. Use a paint brush and spread a thin layer of Mod-Podge onto the canvas and smooth your picture down.
3. This is where i deviate from the original instructions a bit. They want you to wait an hour and let the Mod-Podge dry before you add the second layer....I. Can't. Wait....sad but true....patience is not one of my strong points ;) Use the same technique, except this time you will Mod-Podge over the photo.
It will look "filmy" like this until it dries.
4. When it dries (only takes about 10 minutes) Take your acrylic paint and apply it to the edges of your canvas with a sponge brush. Lightly brush over the exposed (photo) edge of your canvas with the paint. This will blend your picture in with the canvas and make it look professional. When choosing a color to paint the edge of my canvas i look for the color that stands out in the picture. usually, black or brown. I have painted them with a lighter color (antique white) but wasn't as happy with it once i got it on the wall. I generally like the look of them with dark edges better.
finished product! well....probably not totally finished, since I'm completely obsessed with making these! P.S. the quote pictured here used to hang on our bedroom door in our first home:) I found it by accident when i went in the attic to look for something....i think it looks perfect here :)
Hope wherever you are, you're having a fabulous Tuesday! If you use this tutorial and make your own canvas prints I'd love to see them! Tag me in your pictures on Facebook or
email them to me and I'll feature them here!